


Guest post originally published on the InfraCloud blog by Atulpriya Sharma
We’ve all heard the phrase – Change is the only constant. That holds true for everything around us. Traditionally applications were released in a waterfall-based model where the changes were shipped at once to the entire user base. This usually meant that if anything went wrong with that particular release, the entire user base would be affected. That often resulted in unhappy customers.
Thankfully, that process has evolved into progressive delivery. Progressive delivery allows for finer control over the way applications and their features are shipped to the users. A manager would first ship a feature to their internal teams before sharing it with a section of the user base. They then study the feedback received and accordingly decided whether to progress that release to the complete user base or not.
Traffic Management: Critical for Progressive Delivery
Most organizations have adopted progressive delivery and have implemented tools that help them do that. These tools include version control systems, CI & CD tools along with observability and monitoring tools.
However, one of the critical aspects of any progressive delivery is traffic management. Since a feature (or application) is required to be shipped only to a subset of users, there’s a need for tools that allow the traffic to be routed accordingly.
This can be achieved in multiple ways, there are load balancers that allow you to route traffic based on DNS, hosts, headers, etc. There are also service meshes with traffic routing and management capabilities. In this blog post, we’ll talk about progressive delivery using service mesh.
Service Mesh in Kubernetes
Containerized applications deployed to Kubernetes consist of multiple microservices. Each of these services communicates with each other. Service mesh is a dedicated infrastructure that allows these microservice to communicate effectively and efficiently with each other.
Rather than being a mesh of services, a service mesh is a mesh of proxies into which microservices plug into. This allows them to abstract the network away completely. Apart from just communication, service meshes also help with monitoring, securing them & also enabling end-to-end communication between services in the Kubernetes cluster.
Benefits of service mesh
- Increased visibility of all the services across your clusters with deeper insights.
- Improved productivity as it enables you to manage all the services with ease.
- Enhanced security as service enforces security measures without affecting the application code.
- Multi-cloud portability as service mesh is platform agnostic & can be moved easily.
There are many service meshes out there, and some of the common ones are:
- Istio – designed by Google, backed by Google, IBM & Lyft
- Linkerd – easy to use service mesh backed by Buoyant
- Consul – simple, flexible service mesh supported by HashiCorp
Depending on your infrastructure and the products you use, you can pick a service mesh. However, amongst the three, Istio is the most popular service mesh that is used by some of the biggest names in the industry.
In this blog post, we’ll look into how progressive delivery can be implemented using Istio.
Deployment in Kubernetes
Applications today are no more cloud-ready, instead they are cloud native – made for the cloud. One of the vital components of cloud native applications is a microservice. A group of loosely coupled microservices builds up a cloud native application.
Microservices bring in a host of benefits like increased scalability, flexibility and fault tolerance to name a few. However, one of the challenges faced is upgrading and maintaining them from time to time. Upgrading a single microservice is as easy as the kubectl apply -f command, but when you have multiple microservices, you need a tool that can help you manage their lifecycle.
One such tool is Argo Rollouts. It’s a Kubernetes controller with a set of CRDs that provide advanced deployment capabilities along with progressive delivery features. It integrates with ingress controllers and service meshes by leveraging their traffic routing capabilities and using that to route traffic to different versions of the application. You can read more about Argo Rollouts here.
Deployment strategies
One of the major advantages of progressive delivery is that it provides you with fine grained control over how the app updates and features are released to the users. There are multiple types of deployment strategies that you can choose from while using Argo Rollouts:
- Blue Green – strategy wherein you create two identical environments – blue & green. Blue has the current version of the application running, while green has the newer version running. You test the green environment and slowly shift traffic to this version and deprecate the blue environment. Read our earlier blog post on Blue Green deployment to know more.
- Canary – In this strategy, you make staged releases. You make newer versions of your application available only to a subset of users. Based on the feedback, you gradually shift the users to the newer version. To know more about canary deployment, read our blog post on Canary deployment with Argo Rollouts.
Canary Deployment using Argo Rollouts and Istio
Having understood application deployment and upgrades in Kubernetes using Argo Rollouts and traffic routing using Istio, let us apply our learnings with the help of an example.
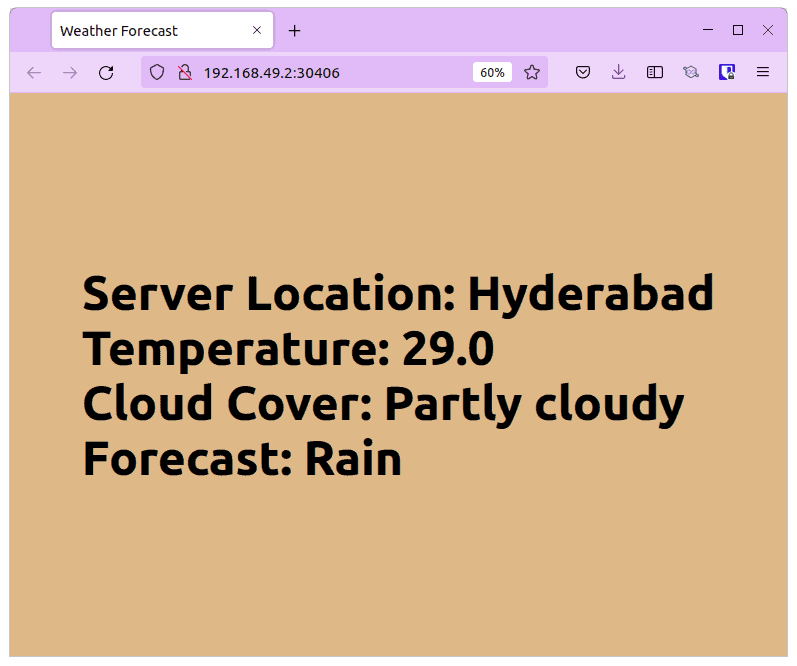
In this example, we have a simple weather application that displays the weather forecast of a city. There are two versions of this application, one shows weather for Hyderabad and the other for New York.
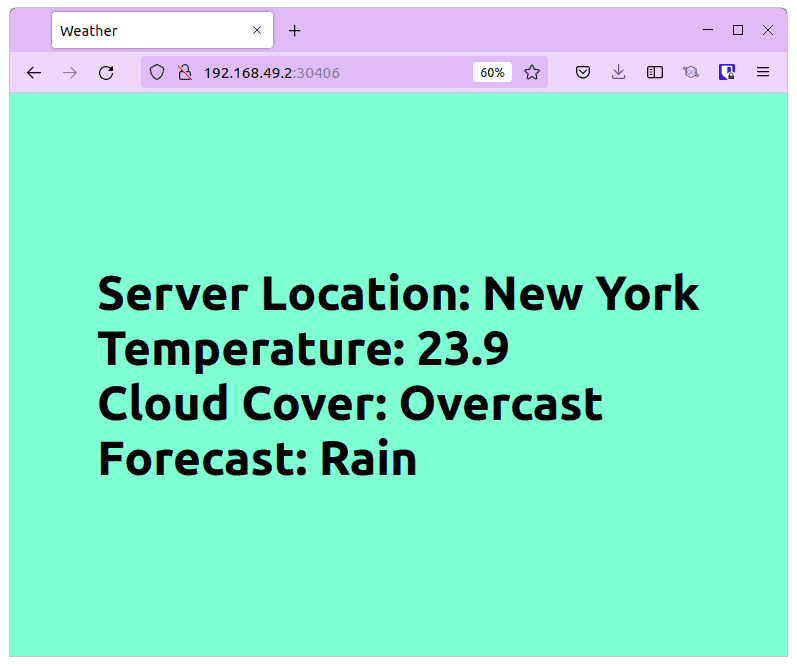
The initial deployment will show Hyderabad’s weather while the newer version will show the forecast for New York. We’ll set up a canary deployment using Argo Rollouts and deploy both the versions.
Using Istio, we’ll shift the traffic to the newer version by 50%. So every time a user visits the application, they’ll either see Hyderabad or New York.
Implementation
To begin with you need a Kubernetes cluster configured, we’re using Minikube in this case. You can make use of any other Kubernetes cluster as the steps would remain the same.
The next step is to clone the repository that has this example.
git clone https://github.com/infracloudio/ArgoRollout-WeatherExample-Istio.git
Configure Environment
In this case we are using Minikube, hence we need to configure it with the required CPU and RAM:
minikube start --cpus=4 --memory=8g
Install Istio Service Mesh
Istio can be installed using Helm, istoctl or an external control plane. In the blog post, we are using istioctl. You can follow the steps mentioned to install Istio using isoctl.
$ istioctl install
This will install the Istio 1.14.3 default profile with ["Istio core" "Istiod" "Ingress gateways"] components into the cluster. Proceed? (y/N) y
✔ Istio core installed
✔ Istiod installed
✔ Ingress gateways installed
✔ Installation complete
Making this installation the default for injection and validation.

Thank you for installing Istio 1.14.  Please take a few minutes to tell us about your install/upgrade experience!  https://forms.gle/yEtCbt45FZ3VoDT5A
Once Istio is installed, check the status of Istio Gateway:
$ kubectl get services -n istio-system

NAME                   TYPE           CLUSTER-IP       EXTERNAL-IP   PORT(S)                                      AGE
istio-ingressgateway   LoadBalancer   10.107.243.250   <pending>     15021:32453/TCP,80:30406/TCP,443:30539/TCP   6m53s
istiod                 ClusterIP      10.102.57.235    <none>        15010/TCP,15012/TCP,443/TCP,15014/TCP        7m10s
Setup Argo Rollouts Controller
Create a namespace and install the Argo Rollouts controller into it.
kubectl create namespace argo-rollouts
Install the latest version of Argo Rollouts controller:
kubectl apply -n argo-rollouts -f https://github.com/argoproj/argo-rollouts/releases/latest/download/install.yaml
Ensure that all the components and pods for Argo Rollouts are in the running state. You can check it by running the following command:
kubectl get all -n argo-rollouts
One of the easiest and recommended ways to interact with Argo Rollouts controller is using the kubectl plugin. You can install it by executing the following commands:
curl -LO https://github.com/argoproj/argo-rollouts/releases/latest/download/kubectl-argo-rollouts-linux-amd64
chmod +x ./kubectl-argo-rollouts-linux-amd64
sudo mv ./kubectl-argo-rollouts-linux-amd64 /usr/local/bin/kubectl-argo-rollouts
kubectl argo rollouts version
At this point we have successfully configured the Argo Rollouts controller on our Kubernetes cluster. You can use the following command to verify the installation:
$ kubectl get all -n argo-rollouts

NAME                                READY   STATUS    RESTARTS   AGE
pod/argo-rollouts-845b79ff9-fq922   1/1     Running   0          75s

NAME                            TYPE        CLUSTER-IP     EXTERNAL-IP   PORT(S)    AGE
service/argo-rollouts-metrics   ClusterIP   10.103.13.55   <none>        8090/TCP   75s

NAME                            READY   UP-TO-DATE   AVAILABLE   AGE
deployment.apps/argo-rollouts   1/1     1            1           75s

NAME                                      DESIRED   CURRENT   READY   AGE
replicaset.apps/argo-rollouts-845b79ff9   1         1         1       75s
We have successfully deployed Istio and Argo Rollouts controllers. The next step is to deploy a VirtualService, Gateway, and the Rollout. VirtualService and Gateway are components of Istio.
A VirtualService is a set of rules that define routing. Gateway on the other hand is a load balancer that is responsible for incoming and outgoing connections.
Configure VirtualService, Gateway and Rollout
Let us look into each of these.
VirtualService: istio-vsvc.yaml
apiVersion: networking.istio.io/v1alpha3
kind: VirtualService
metadata:
 name: rollout-vsvc
spec:
 gateways:
 - argo-gateway
 hosts:
 - "*"
 http:
 - name: primary        # referenced in canary.trafficRouting.istio.virtualService.routes
   route:
   - destination:
       host: weather-test-app-hyd # referenced in canary.stableService
     weight: 10
   - destination:
       host: weather-test-app-ny # referenced in canary.canaryService
     weight: 90
The VirtualService references the Gateway and has two rules. Both rules point to different services along with the weight mentioned. Please note that this weight will be overridden by our rollout.yaml.
Gateway: istio-gateway.yaml
apiVersion: networking.istio.io/v1alpha3
kind: Gateway
metadata:
 name: argo-gateway
spec:
 selector:
   istio: ingressgateway # use the default IngressGateway
 servers:
 - port:
     number: 80
     name: http
     protocol: HTTP
   hosts:
   - "*"
The Gateway consists of the server details like name, port number, and protocol along with the type of selector, ingressgateway in this case.
Rollout: rollout.yaml
apiVersion: argoproj.io/v1alpha1
kind: Rollout
metadata:
 name: rollout-istio
spec:
 replicas: 2
 revisionHistoryLimit: 2
 selector:
   matchLabels:
     app: rollout-istio
 template:
   metadata:
     labels:
       app: rollout-istio
   spec:
     containers:
     - name: weather-app
       image: docker.io/atulinfracloud/weathersample:v1
       imagePullPolicy: Always
       ports:
       - containerPort: 5000
 strategy:
   canary:
     canaryService: weather-test-app-ny  # required
     stableService: weather-test-app-hyd  # required
     trafficRouting:
       istio:
         virtualService:
           name: rollout-vsvc   # required
           routes:
           - primary            # optional if there is a single route in VirtualService, required otherwise
     steps:
     - setWeight: 50 # overrides the weight provided in virtualservice
     - pause:
         duration: 10m

---
apiVersion: v1
kind: Service
metadata:
 name: weather-test-app-hyd
spec:
 selector:
   app: rollout-istio
 ports:
   - protocol: "TCP"
     port: 80
     targetPort: 5000
 type: ClusterIP

---
apiVersion: v1
kind: Service
metadata:
 name: weather-test-app-ny
spec:
 selector:
   app: rollout-istio
 ports:
   - protocol: "TCP"
     port: 80
     targetPort: 5000
 type: ClusterIP
The rollout.yaml specifies the deployment strategy along with the services. It also mentions the traffic routing strategy to be used along with the Gateway and VirtualService details. The setWeight value here overrides the value in the VirtualService & decides the amount of traffic that is sent to the canary. duration under pause defines the duration for which the deployment will pause for 10 min and then it will rollout on v2 with 100% Weight.
Having understood the contents of each file, let us deploy each of these files one by one. Please note that the order of deployment is important.
kubectl apply -f istio-vsvc.yaml
kubectl apply -f istio-gateway.yaml
kubectl apply -f rollout.yaml
Use the following command to check the status of the rollout:
$ kubectl argo rollouts get rollout rollout-istio

Name:            rollout-istio
Namespace:       default
Status:          ✔ Healthy
Strategy:        Canary
  Step:          2/2
  SetWeight:     100
  ActualWeight:  100
Images:          docker.io/atulinfracloud/weathersample:v1 (stable)
Replicas:
  Desired:       2
  Current:       2
  Updated:       2
  Ready:         2
  Available:     2

NAME                                       KIND        STATUS     AGE    INFO
⟳ rollout-istio                            Rollout     ✔ Healthy  2m26s
└──# revision:1
   └──⧉ rollout-istio-65d9c6947f           ReplicaSet  ✔ Healthy  91s    stable
      ├──□ rollout-istio-65d9c6947f-2xbzn  Pod         ✔ Running  91s    ready:1/1
      └──□ rollout-istio-65d9c6947f-ws8vb  Pod         ✔ Running  91s    ready:1/1
To allow the Istio Gateway and your application to be accessed from outside of the cluster, you need to start the minikube tunnel in a separate window.
minikube tunnel
To get the IP address of the Istio-ingressgateway that will be used to access the application, use the following command:
$ minikube service istio-ingressgateway -n istio-system

|--------------|----------------------|-------------------|---------------------------|
|  NAMESPACE   |         NAME         |    TARGET PORT    |            URL            |
|--------------|----------------------|-------------------|---------------------------|
| istio-system | istio-ingressgateway | status-port/15021 | http://192.168.49.2:32453 |
|              |                      | http2/80          | http://192.168.49.2:30406 |
|              |                      | https/443         | http://192.168.49.2:30539 |
|--------------|----------------------|-------------------|---------------------------|
Access the istio-ingressgateway IP address and you’ll be able to see the stable version of the application running i.e.: it will show Hyderabad’s weather.
The next step is to promote a canary version of the app using the following command:
kubectl argo rollouts set image rollout-istio rollouts-demo=docker.io/atulinfracloud/weathersample:v2
$ kubectl argo rollouts get rollout rollout-istio

Name:            rollout-istio
Namespace:       default
Status:          ॥ Paused
Message:         CanaryPauseStep
Strategy:        Canary
  Step:          1/2
  SetWeight:     50
  ActualWeight:  50
Images:          docker.io/atulinfracloud/weathersample:v1 (stable)
                 docker.io/atulinfracloud/weathersample:v2 (canary)
Replicas:
  Desired:       2
  Current:       3
  Updated:       1
  Ready:         3
  Available:     3

NAME                                       KIND        STATUS     AGE  INFO
⟳ rollout-istio                            Rollout     ॥ Paused   27m
├──# revision:2
│  └──⧉ rollout-istio-84bf58cd44           ReplicaSet  ✔ Healthy  34s  canary
│     └──□ rollout-istio-84bf58cd44-bp5lv  Pod         ✔ Running  34s  ready:1/1
└──# revision:1
   └──⧉ rollout-istio-65d9c6947f           ReplicaSet  ✔ Healthy  26m  stable
      ├──□ rollout-istio-65d9c6947f-2xbzn  Pod         ✔ Running  26m  ready:1/1
      └──□ rollout-istio-65d9c6947f-ws8vb  Pod         ✔ Running  26m  ready:1/1
We now have v2 deployed in canary while v1 in stable. Visit the service at the http://<ip address> and refresh the page. You’ll see stable (Hyderabad) and canary (New York) versions of the apps displayed randomly based on the weights provided.
That’s how you can use Argo Rollouts with Istio service mesh to perform canary deployments. You can tweak the weights, and services to suit your needs, but this is only how a basic implementation would look like.
Conclusion
In this blog post, we learned about progressive delivery and how organizations are deploying tools and techniques to ship products faster. We saw how to implement canary deployment using Argo Rollouts and Istio.
Using a service mesh for application deployment has its own benefits including traffic management, observability, and automation. This coupled with a tool like Argo Rollouts, you can manage your deployments easily with faster rollbacks in case of failures.
Feel free to reach out to Atul for any thoughts or feedback on this post. If you don’t yet have a robust software delivery pipeline in place, you can reach out to our CI/CD experts who can help you to design and implement such strategies to improve your software delivery processes.
References & Further Reading
- Argo Rollouts
- Traffic Management with Istio on Argo Rollouts
- InfraCloud’s Progressive Delivery Consulting services
Looking for Progressive Delivery consulting and support? Explore how we’re helping companies adopt progressive delivery – from creating a roadmap to successful implementation, & enterprise support.